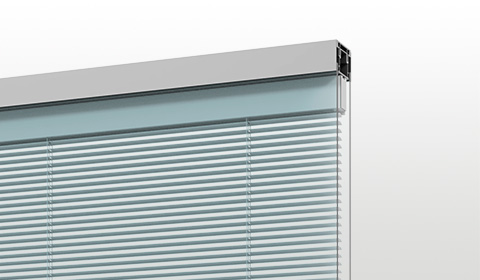
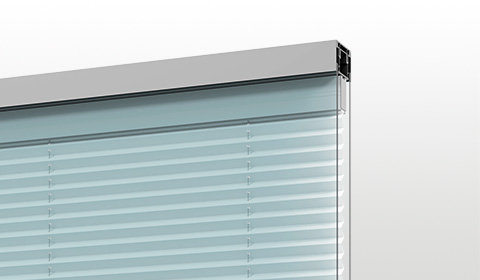
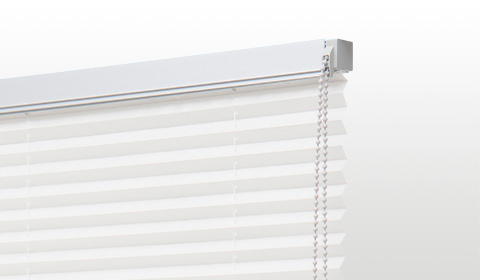
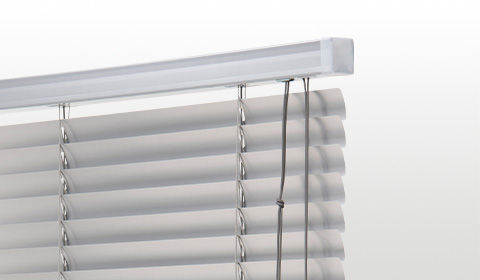
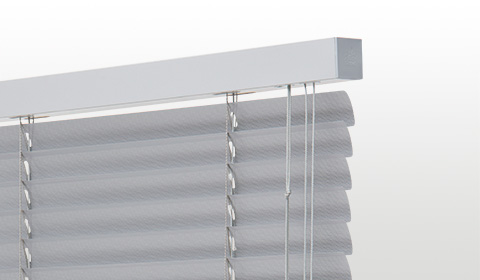
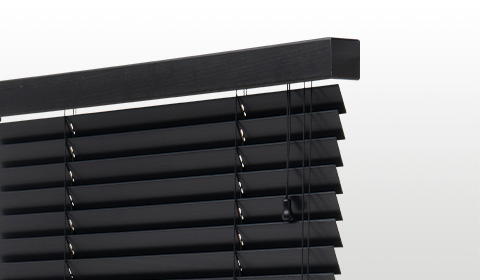
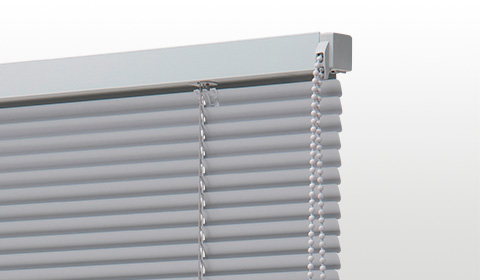
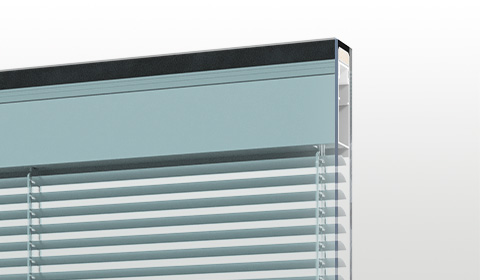
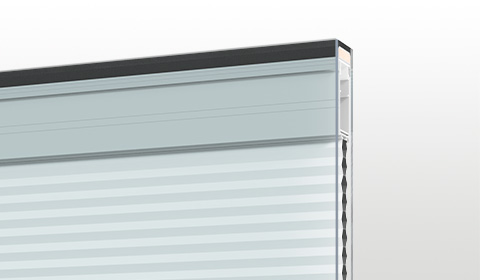
Venetian blinds help us to control sunlight levels by regulating the orientations of the slats and to choose the desired level of lighting in a room. This is great for our wellbeing.
For example, by changing the orientation of the slats, you can deflect sunlight away from computer screens and avoid damaging your eyesight. This feature can also help in dark rooms by bouncing natural light off the ceiling.
Being able to change the orientation of the slats can also help you decide how much can be seen through your window and, if you opt to keep them completely closed, they will give you 100% privacy.
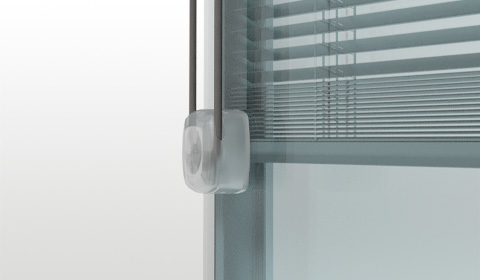
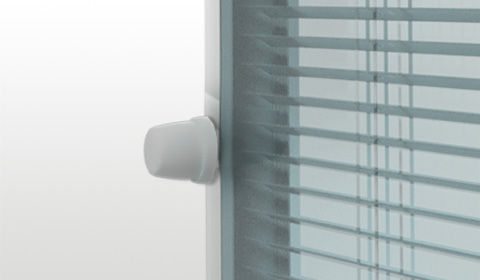
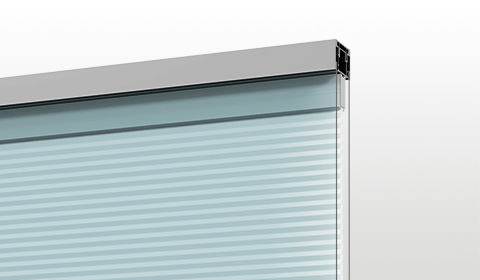
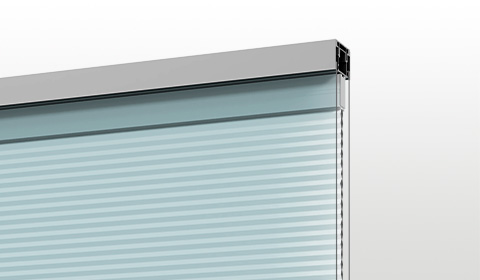
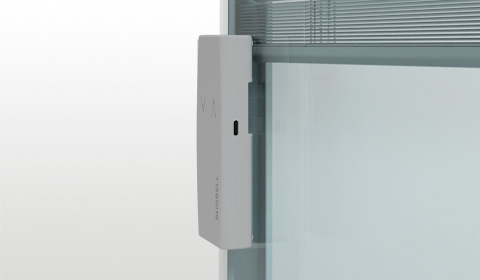
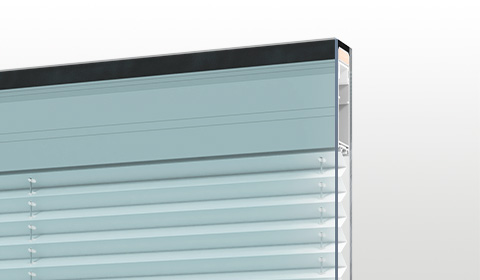
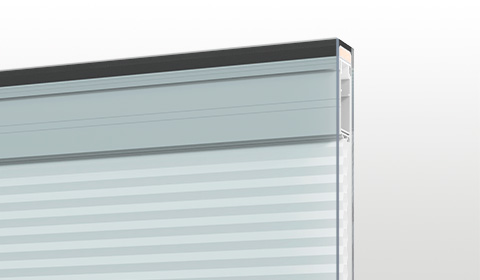
Venetian blinds are available in a large variety of colours and in materials such as aluminium and wood. It’s also possible to install them inside double glazing, a solution that can fix many issues, including annoying drafts.
Venetian blinds are practical and functional fixtures that, thanks to their versatility, can be used at home and in offices and commercial spaces alike.
There are many different solutions for building and installing your Venetian blinds.
Choosing the most suitable system is usually based on factors such as dimensions, the position of installation, and the blind’s location.
Let’s take a look at how to make that decision.
Installing Venetian blinds: top box
Venetian blinds need to be installed using brackets to attach the blind’s top box to the ceiling, false ceiling, wall, or window frame.
There are 4 different types of bracket:
1. Hidden brackets for ceilings or walls
This type of solution is the most popular as it’s easy to install and has little aesthetic impact on the room. It is available for all types of Venetian blinds and features a base which is attached to the wall or ceiling using dowels and screws.
It also features a mobile part. By rotating around a pivot at the base, this mobile part holds the top box on the bracket, which then moves and is hidden almost completely behind the blind’s top box.
2. Hidden brackets for window frames
This solution is very similar to the first one, but is designed for small and light Venetian blinds – with slats between 15 and 25 mm, including motorised ones, and for blinds made of fabric, mounted directly on the window frame – with a width of 15 mm even when installed inside the glazing bead.
Hidden brackets guarantee maximum practicality and minimal inconvenience.
This type of installation is also available in a variety that doesn’t require drilling holes into the window frame – instead it can be attached directly to the top part of the frame.
However, because this system features a hook, it could still present a downside as it could potentially damage the top seal of the window frame.
Another variant of the same solution uses adhesive material to attach the brackets; but drilling holes provides the safest, longer-lasting solution.
3. U-bolt brackets for ceilings
This method is usually used for bigger and heavier blinds such as 50 mm Venetian blinds made of wood.
Using screws and dowels, the u-bolt is attached directly to the ceiling or false ceiling. The top box is then attached to the u-bolt and secured with a metal plate.
This method offers a safe and long-lasting solution, especially for exterior Venetian blinds. It is also suitable for corner installations.
4. Box mounting bracket for walls or ceilings
The system used for u-bolts can also be adopted for box mounting brackets. These are placed at the sides of the top box.
This type of bracket, which can be installed both on the ceiling or false ceiling, can also be used in combination with u-bolts.
Methods 3 and 4 are more visible, which is why they are used for corner installations or exterior locations.
If these are your only feasible options, the brackets can still be hidden using wooden valances. These are usually installed with magnetic or interlocking systems placed on the blind’s top box.
Venetian blinds might need other fastener methods – such as those featuring lateral guide rails.
Installing Venetian blinds: guide rails
These guides are usually nylon or metal cables used to keep the blind’s bottom rail and slats in the correct position.
They are particularly used for exterior blinds to resist wind, or on blinds installed directly on the window frame, especially for transom windows.
These guides can be installed in two ways.
1. Fastening on wall or surface with metal brackets
With this fastening system, the brackets are attached to the wall or other surface using screws and dowels.
The cable is then run through a locking system attached to the bracket.
2. Fastening on a surface with a clamp
In this case, the guide is fastened by screwing a fixed part to the surface. A mobile part where the guide is hooked so that it can keep its tension is then attached to this surface.
Installing Venetian blinds: Child safety devices
Child safety devices offer additional peace of mind if you have children in the house as blind cords represent a choking hazard.
These devices are usually designed with additional features to ensure children’s safety.
Some of these devices, like the blind’s winder, can be glued or screwed in place.
Additional safety devices might be required for automatic blind systems.
Cord tensioners would be an option as they can usually be attached to the window frame or wall.
Conclusion
For any installation system, make sure to rely on the experience of a professional technician who can assist you with evaluating your options and help you choose the best solutions.
If you have any questions or doubts, don’t hesitate to contact us.

